

How to Use Custom Search Engine (CSE) in Node.js with Google API?
Google Custom Search enables you to create a search engine for your website, your blog, or a collection of websites. How does NodeJS use Google Custom Search by using Google APIs?
This is my repository for the tutorial on Github
This is my demo on Heroku at https://google-api-cse.herokuapp.com for the tutorial.
Now I will walk you through the steps to build a Node.js application using the Google Custom Search Engine by the Google API.
1. Google APIs Node.js Client
Google’s officially supported Node.js client library for accessing Google APIs. Support for authorization and authentication with OAuth 2.0, API Keys and JWT (Service Tokens) is included. Repository on Github here.
Now, with google-api-nodejs-client, we can use Google API in Node.js simply.
1.1. Custom Search API
You can see simple example here about using Google API in NodeJS.
1.2. How to use?
Now we will use google-api-nodejs-client in Node.js application.
1.2.1. Quickstart Node.js with express
You can use expressto create new Node.js application by:
## Create new Node.js server with engine ejs
express --ejs --git

## Install packages
npm install

## Optional, only for development, linting code by eslint
npm install eslint eslint-config-airbnb --save-dev
1.2.2. Pakages dotenv and googleapis
Now we also add some package as dotenv and googleapis. Using dotenv to access environment variables by process.env.* in Node.js. Using googleapis to use Google API.
npm install dotenv googleapis --save
2. Google Cloud Console
To use Google API, you should have google api key. Go to Google Cloud Console with your signed in account.
2.1. Create new project
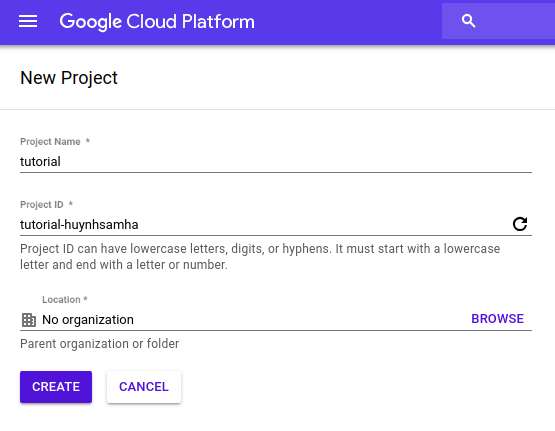
- Firstly, on Google Cloud Platform, you should create new project. I created project name is
tutorialand project ID istutorial-huynhsamha.
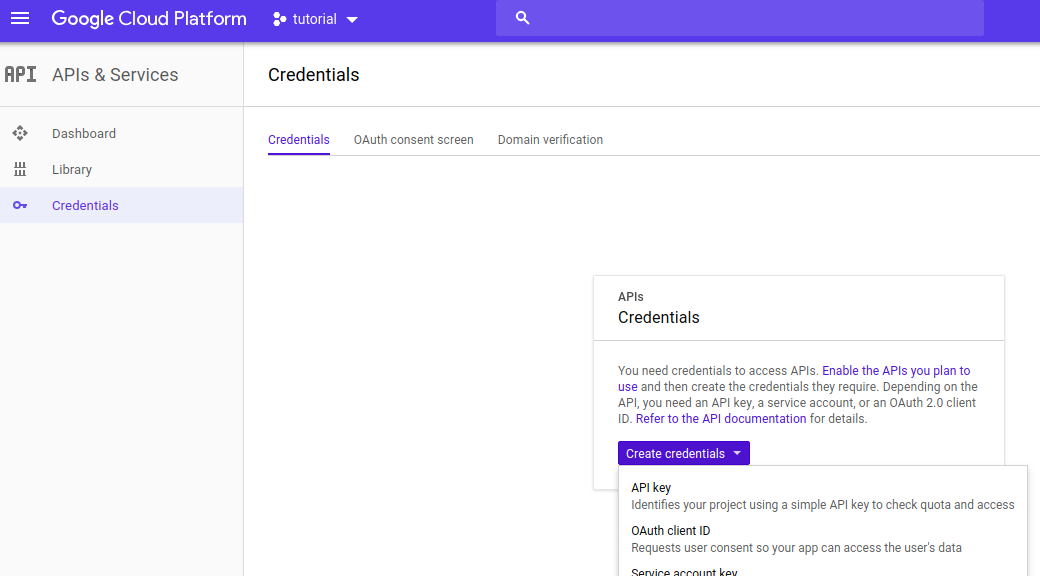
2.2. Create new Google API Key
- Next, we also should create new API Key by creating new Credentials on our project. Search in box with keywords
credentials.

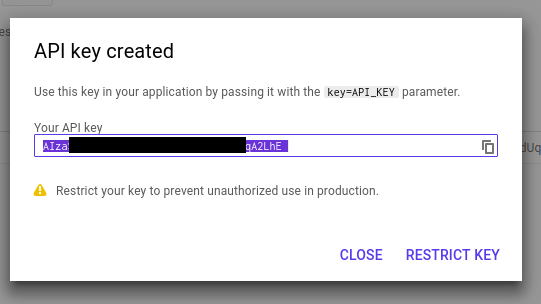
- Next, in the credentials page that opens, create a Key API
- Then, copy the generated key value to the clipboard
- In the project, create the .env file at the root of the project, creating a new key-value
GG_API_KEY=nsidfh349jnv9f0923h9rh29
- Create new file
config.jsat the root of the project to export environment variables.
module.exports = {
	ggApiKey: process.env.GG_API_KEY || 'your google api key'
}
- In file
app.js, at the top, you also require packagedotenvto bind environment variables toprocess.env.*
// At the top of the file
require('dotenv').config();
// ...
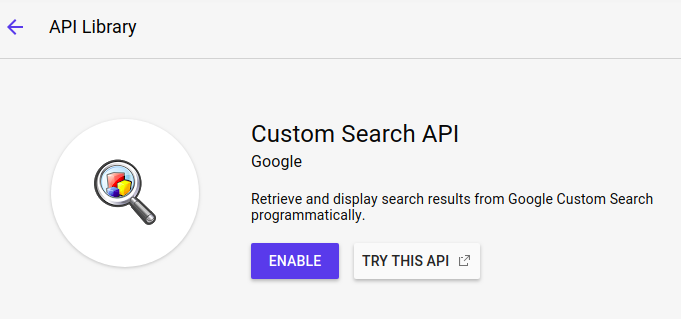
2.3. Enable Custom Search API
- Search on the box with
custom search, and click toCustom Search APItoEnable

3. Create a new Custom Search Engine
Google API only provide our the API Key, you should have a search engine to use with an engine key. Go to Custom Search to create new and configure something.
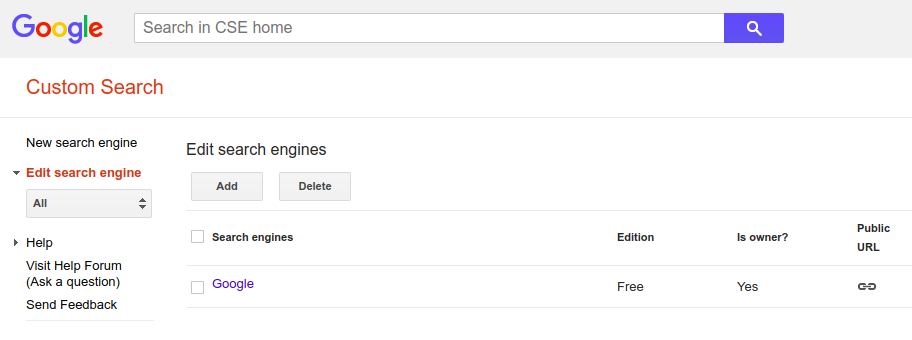
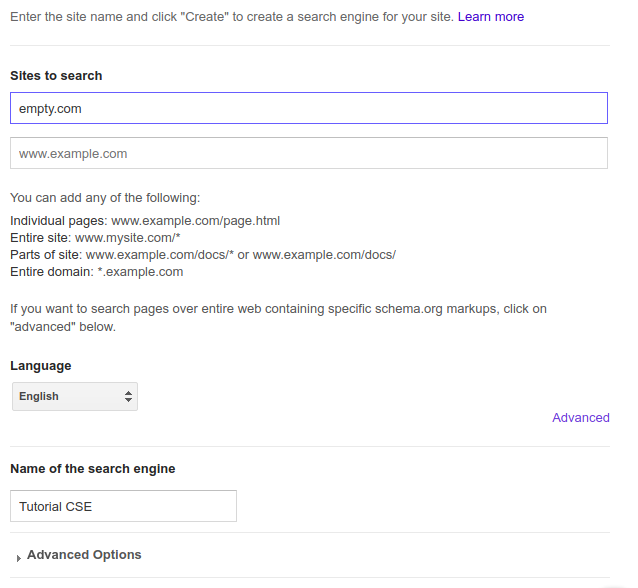
- Create new search engine,
Sites to searchyou can add some sites (not important). I add siteempty.com.
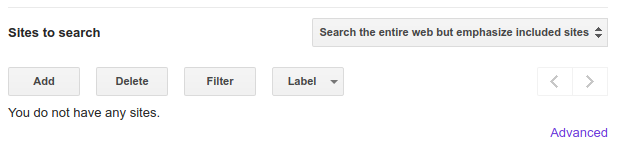
- After created new search engine, edit the engine. At
Sites to search, toggle optionSearch the entire web but emphasize included sitesand removeempty.com. You can add your sites which is priority to emphasize included sites.
- Image search is optional, if you want response with image urls.

- View
Detailsand clickSearch Engine IDto view your engine id (engine key -cx)
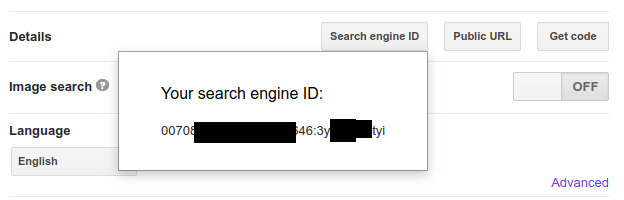
- Copy this value to file
.envand export from fileconfig.js
In file .env:
GG_API_KEY=nsidfh349jnv9f0923h9rh29
GG_CX=007342834758934646:29kajhsdf8
In file config.js:
module.exports = {
	ggApiKey: process.env.GG_API_KEY || 'Your google API key',
	ggCx: process.env.GG_CX || 'Your search engine ID'
}
4. Use Custom Search Google API with Node.js
You can edit files such as my repository on github here. You should edit files. Or you maybe clone my repository and edit file .env with your API Key and Engine Key. The following files should be edited.
- File
routes/index.js - File
views/index.ejs - File
public/stylesheets/style.css - File
public/stylesheets/loader.css - File
public/javascripts/main.js - File
public/favicon.png - File
public/img/post/*.png
5. Start server and view achievement
Now, you can start node.js server to view our achievement:
npm start
Browse to http://localhost:3000, you can view snapshots:
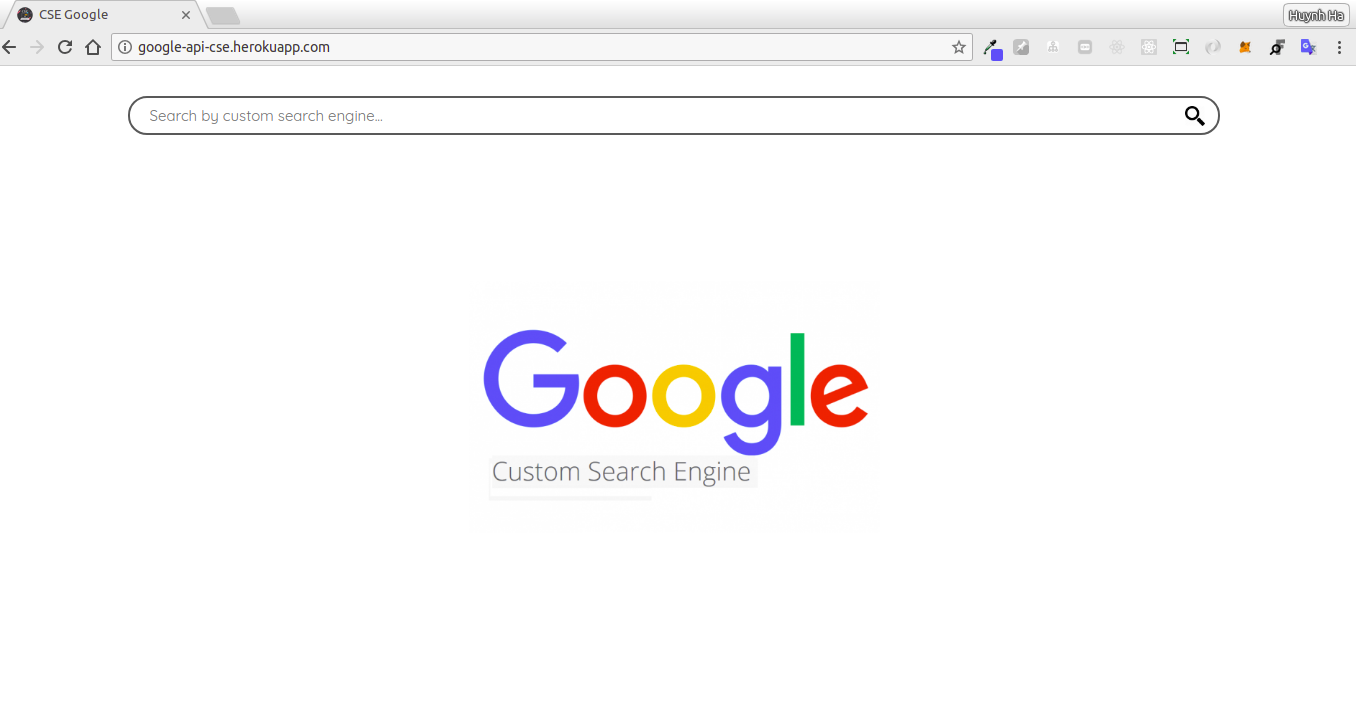
When we search keywords:
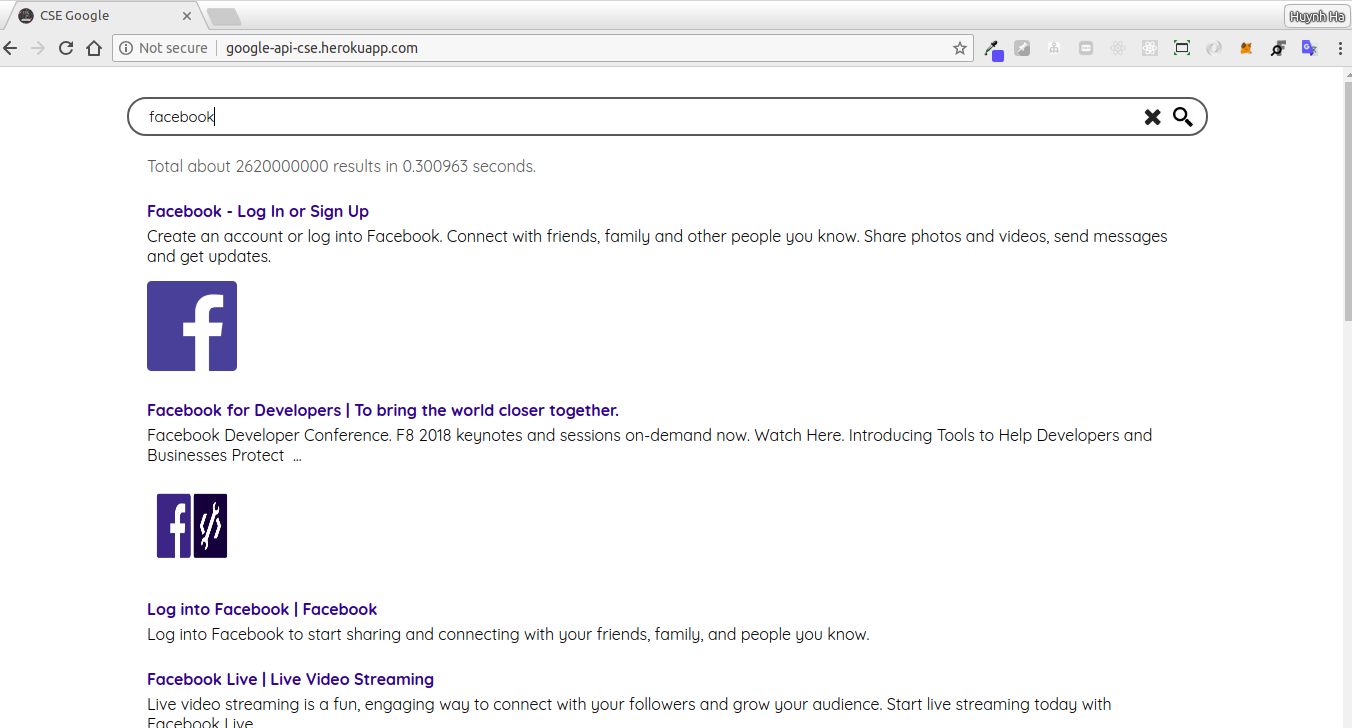
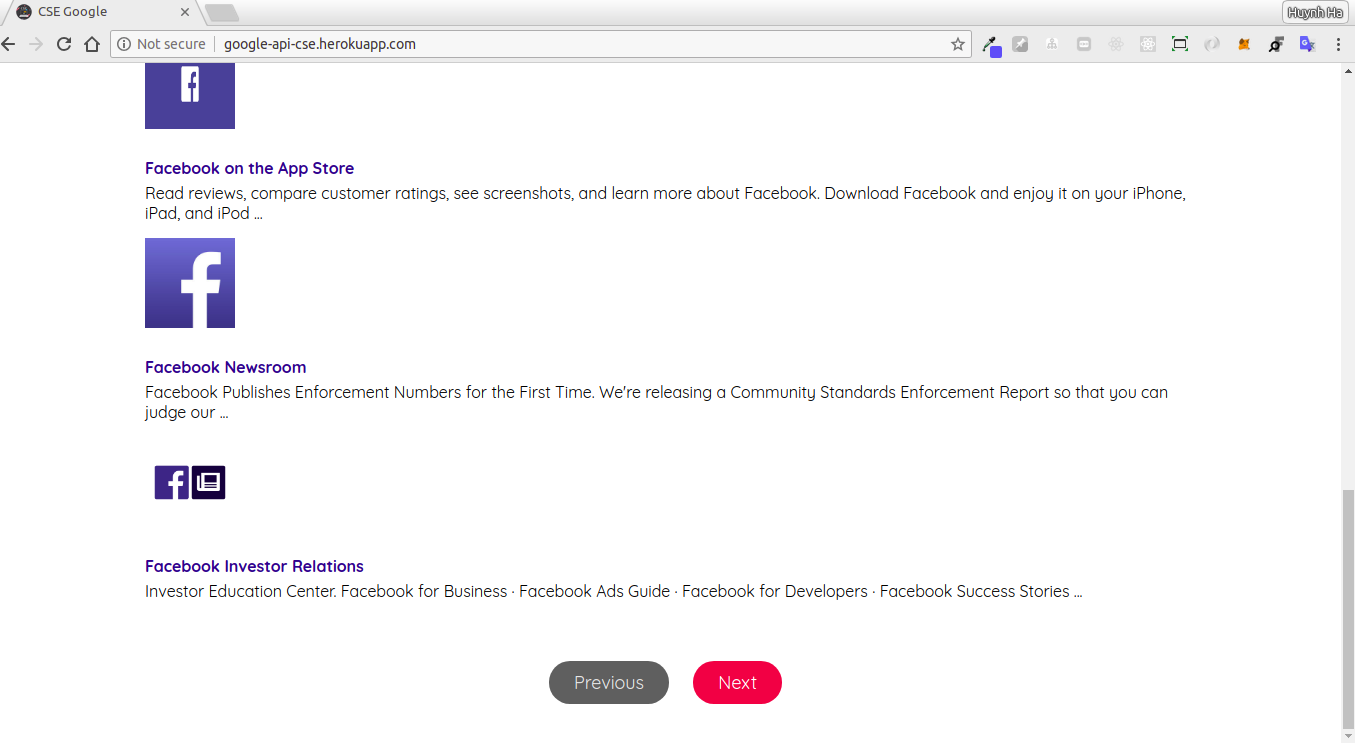
We can go to next page:
6. Structure request and response from Google API
Now we will see how to use the api with request and response.
6.1. Request from Google CSE
View file routes/index.js, you can see function:
var express = require('express');
const { google } = require('googleapis');
const config = require('../config');

var router = express.Router();
const customsearch = google.customsearch('v1');

router.get('/search', (req, res, next) => {
	const { q, start, num } = req.query;
	console.log(q, start, num);

	customsearch.cse.list({
		auth: config.ggApiKey,
		cx: config.ggCx,
		q, start, num
	})
		.then(result => result.data)
		.then((result) => {
		const { queries, items, searchInformation } = result;

		const page = (queries.request || [])[0] || {};
		const previousPage = (queries.previousPage || [])[0] || {};
		const nextPage = (queries.nextPage || [])[0] || {};

		const data = {
			q,
			totalResults: page.totalResults,
			count: page.count,
			startIndex: page.startIndex,
			nextPage: nextPage.startIndex,
			previousPage: previousPage.startIndex,
			time: searchInformation.searchTime,
			items: items.map(o => ({
			link: o.link,
			title: o.title,
			snippet: o.snippet,
			img: (((o.pagemap || {}).cse_image || {})[0] || {}).src
			}))
		}
		// res.status(200).send(result);
		res.status(200).send(data);
		})
		.catch((err) => {
		console.log(err);
		res.status(500).send(err);
		});
})
API with method
GETin route/search, with queryq,startandnum:q: keyword to search.start: start index of responses returned.num: number of responses returned.
To use Custom Search Engine, we need require
customsearchfromgoogleapispackage as:
const { google } = require('googleapis');
const customsearch = google.customsearch('v1');
- To search keyword from
customsearch, we use api:
customsearch.cse.list({
	auth: config.ggApiKey,
	cx: config.ggCx,
	q,
	start,
	num
})
With:
auth: Google API Keycx: Search Engine Keyq: keyword to searchstart: start index in responses returned from apinum: number of responses returned, disallowed greater than10, because google only support query at least 1 and not greater than 10.
You can view documents for apis from google-api-nodejs-client here. And the following lines is links for api schema
6.2. Response from API, use Postman
We can use Postman to visualize the response from Google API of CSE.
- Firstly, we’ll edit file
routes/index.js, we will edit the file to response all data from api, very simple, you only uncomment lineres.status(200).send(result);and comment lineres.status(200).send(data);, the file will be as:
// ...
    .then(result => result.data)
    .then((result) => {
    // ...
		res.status(200).send(result);
		// res.status(200).send(data);
    })
    .catch((err) => {
    // ...
Open
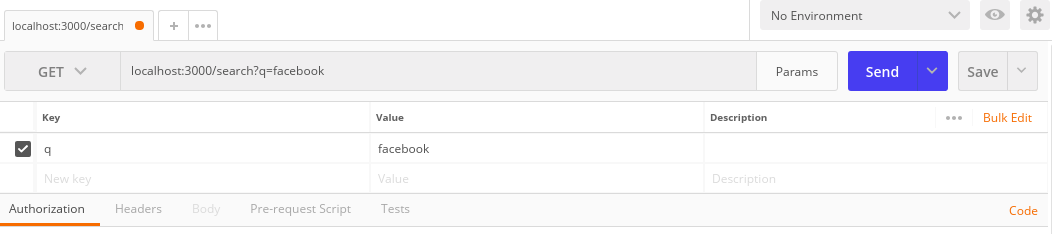
Postmanand start node server bynpm start:In
Postmanrequest to apilocalhost:3000/searchwith methodGET. Click to buttonParamsafter url to add queries (key-value):

- Use case
Keyisqwithvalueisfacebook, click toSendbutton and we can see data response such as:
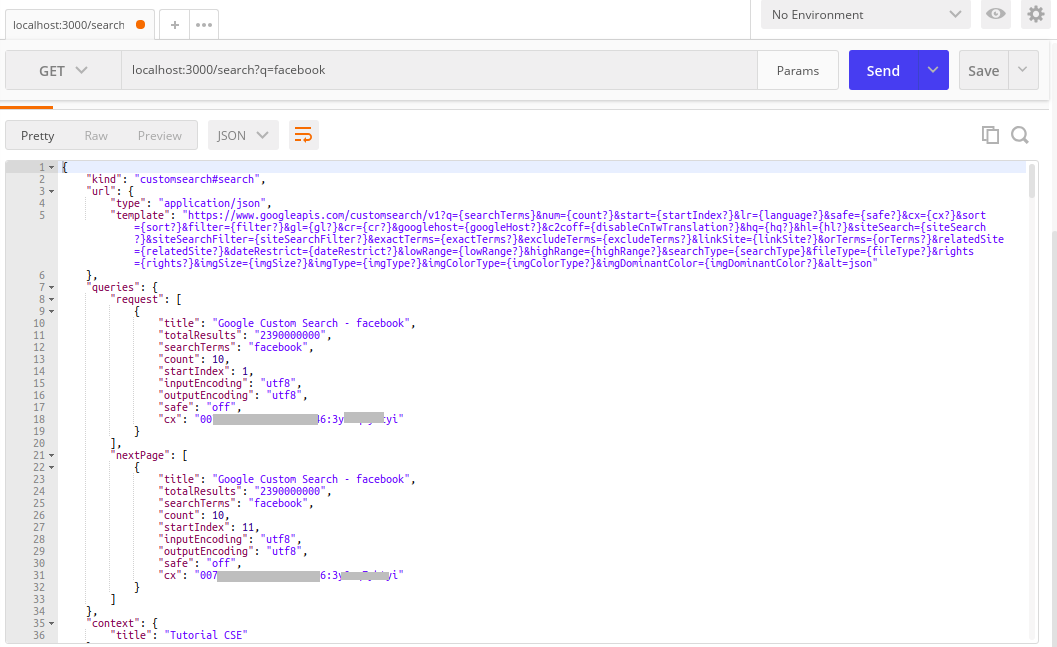
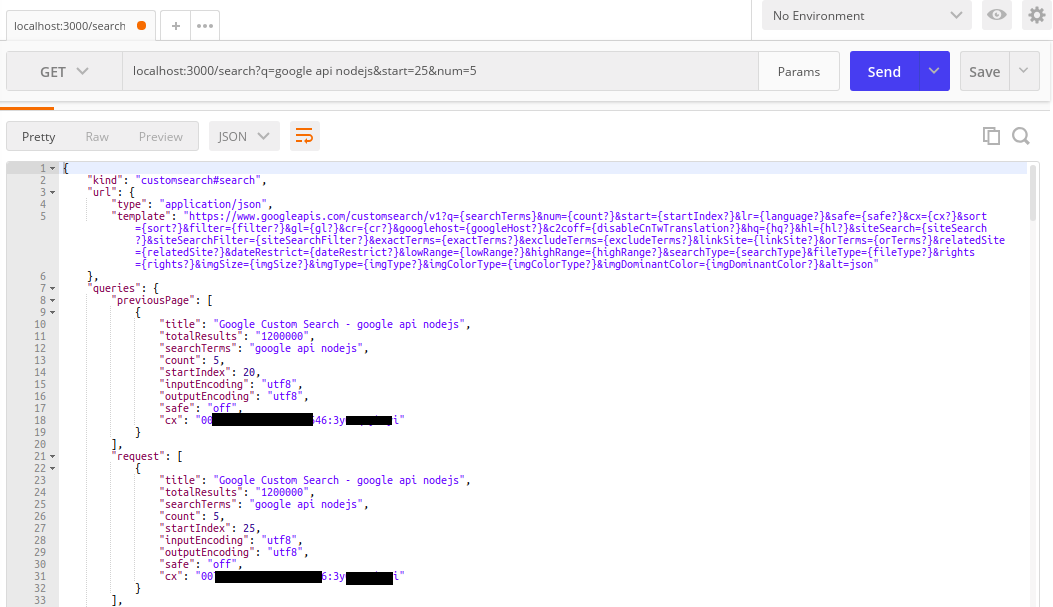
In response, we need focus on url.template, queries, searchInformation and items:
- With
url.template, this is template for request API with query params:
"url": {
        "type": "application/json",
        "template": "https://www.googleapis.com/customsearch/v1?q={searchTerms}&num={count?}&start={startIndex?}&lr={language?}&safe={safe?}&cx={cx?}&sort={sort?}&filter={filter?}&gl={gl?}&cr={cr?}&googlehost={googleHost?}&c2coff={disableCnTwTranslation?}&hq={hq?}&hl={hl?}&siteSearch={siteSearch?}&siteSearchFilter={siteSearchFilter?}&exactTerms={exactTerms?}&excludeTerms={excludeTerms?}&linkSite={linkSite?}&orTerms={orTerms?}&relatedSite={relatedSite?}&dateRestrict={dateRestrict?}&lowRange={lowRange?}&highRange={highRange?}&searchType={searchType}&fileType={fileType?}&rights={rights?}&imgSize={imgSize?}&imgType={imgType?}&imgColorType={imgColorType?}&imgDominantColor={imgDominantColor?}&alt=json"
    }
Some query params:
q={searchTerms}: requirednum={count?}: optional with1 <= count <= 10start={startIndex?}: optionalcx={cx?}: I think it requiredsort={sort?}&filter={filter?}: optional, maybe you need.siteSearch={siteSearch?}: optional, maybe you need.
Next, we should focus on
queries:
"queries": {
        "request": [
            {
                "title": "Google Custom Search - facebook",
                "totalResults": "2390000000",
                "searchTerms": "facebook",
                "count": 10,
                "startIndex": 1,
                "inputEncoding": "utf8",
                "outputEncoding": "utf8",
                "safe": "off",
                "cx": "00[your cx]646:3y[your cx]i"
            }
        ],
        "nextPage": [
            {
                "title": "Google Custom Search - facebook",
                "totalResults": "2390000000",
                "searchTerms": "facebook",
                "count": 10,
                "startIndex": 11,
                "inputEncoding": "utf8",
                "outputEncoding": "utf8",
                "safe": "off",
                "cx": "00[your cx]646:3y[your cx]i"
            }
        ]
    }
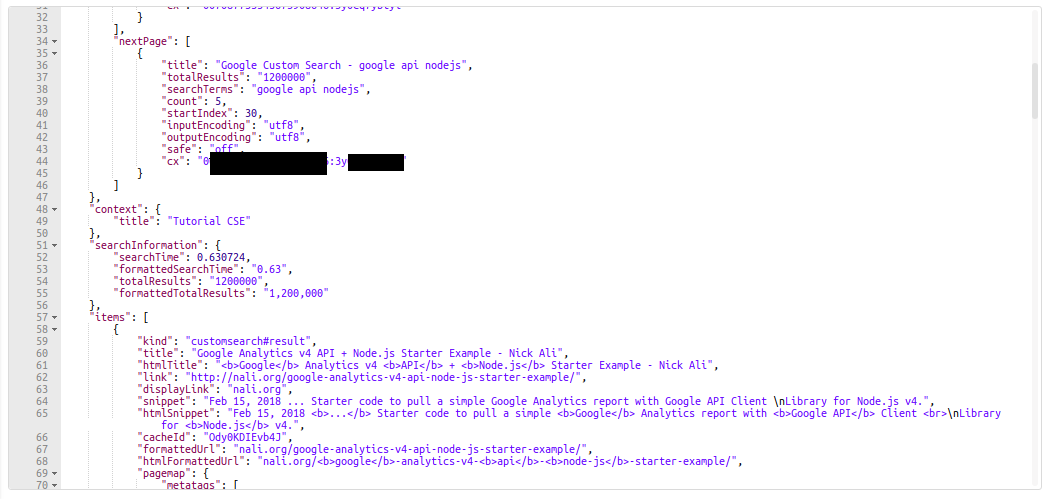
We can see that queries includes for request (our request), nextPage (for next page) and previousPage (if startIndex is not null or has a valid value). In each, we also have totalResults, count and startIndex.
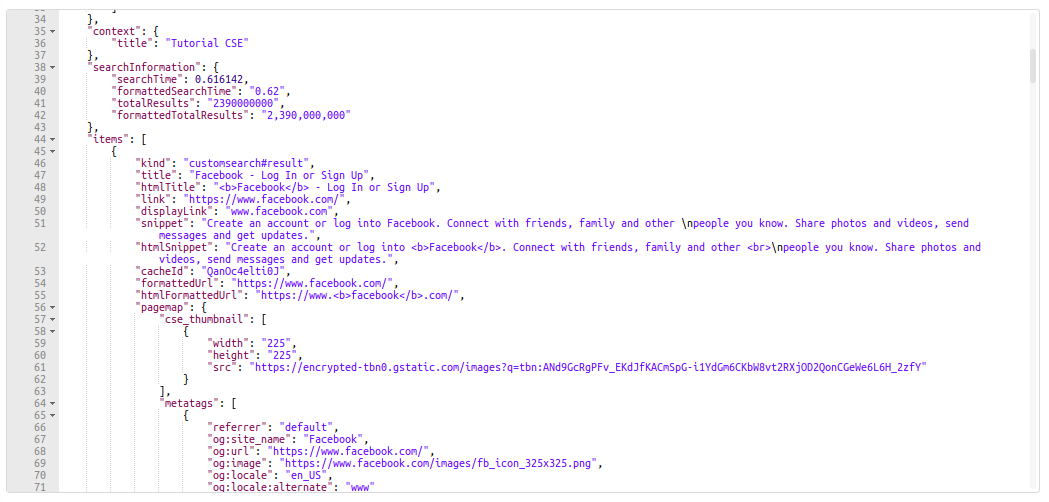
- Next is
searchInformation, which includestotalResults,searchTime, such as:
    "searchInformation": {
        "searchTime": 0.616142,
        "formattedSearchTime": "0.62",
        "totalResults": "2390000000",
        "formattedTotalResults": "2,390,000,000"
    }
- With
items, we have array of return value, withtitle,link,snippet,thumbnail,image, and other meta data, html formated value, … Very awesome!
"items": [
        {
            "kind": "customsearch#result",
            "title": "Facebook - Log In or Sign Up",
            "htmlTitle": "<b>Facebook</b> - Log In or Sign Up",
            "link": "https://www.facebook.com/",
            "displayLink": "www.facebook.com",
            "snippet": "Create an account or log into Facebook. Connect with friends, family and other \npeople you know. Share photos and videos, send messages and get updates.",
            "htmlSnippet": "Create an account or log into <b>Facebook</b>. Connect with friends, family and other <br>\npeople you know. Share photos and videos, send messages and get updates.",
            "cacheId": "QanOc4elti0J",
            "formattedUrl": "https://www.facebook.com/",
            "htmlFormattedUrl": "https://www.<b>facebook</b>.com/",
            "pagemap": {
                "cse_thumbnail": [
                    {
                        "width": "225",
                        "height": "225",
                        "src": "https://encrypted-tbn0.gstatic.com/images?q=tbn:ANd9GcRgPFv_EKdJfKACmSpG-i1YdGm6CKbW8vt2RXjOD2QonCGeWe6L6H_2zfY"
                    }
                ],
                "metatags": [
                    {
                        "referrer": "default",
                        "og:site_name": "Facebook",
                        "og:url": "https://www.facebook.com/",
                        "og:image": "https://www.facebook.com/img/post/fb_icon_325x325.png",
                        "og:locale": "en_US",
                        "og:locale:alternate": "www"
                    }
                ],
                "cse_image": [
                    {
                        "src": "https://www.facebook.com/img/post/fb_icon_325x325.png"
                    }
                ]
            }
        },
        {
        // ...
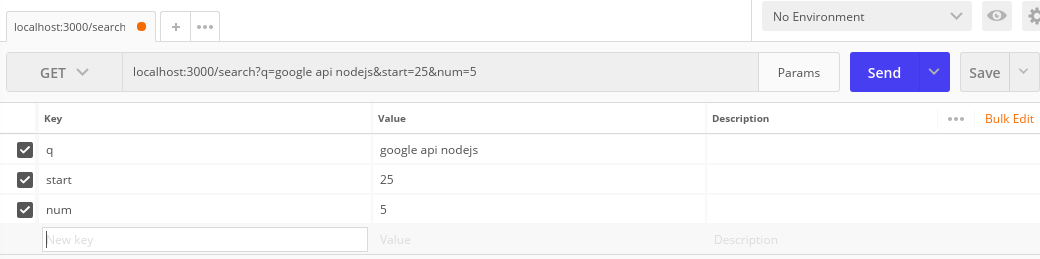
- Example for
q: ‘google api nodejs’,start: 25,num: 5
7. Conclusion
I have shown you how to use Custome Search Engine in Node.js application with Google API using googleapis and dotenv.
Thanks for reading my article! If you have any feedback or criticism, feel free to leave any comment!